Showing posts with label knitting in Sonoma. Show all posts

Saturday, May 01, 2021

Favorite Yarn Shops Bay Area

So Happy to say that Sonoma has a new yarn shop!!!!!!

 
Noma Knits is fulfilling our dreams of having a local shop back in town.  https://nomaknits.com
Our local knitters are very happy to see Marie's smiling face and the beautiful shop she has created.   

Wouldn't you love to shop here???  There is a coffee shop right next door and the library across the street.   Oh and did I tell you...it's located 3 blocks from my home....Love it.   

In addition to yarns by Berroco, MadTosh, Manos de Uruguay you will find locally sourced yarns and of course all the other needles and notions you will need to complete your project.  

There is an On-line shop and you can find Noma Knits on Facebook and Instagram https://www.instagram.com/nomaknits/.   

The shop is located at 
730 W Napa St., Sonoma California 

Hope to see you there.....

Wednesday, July 26, 2017

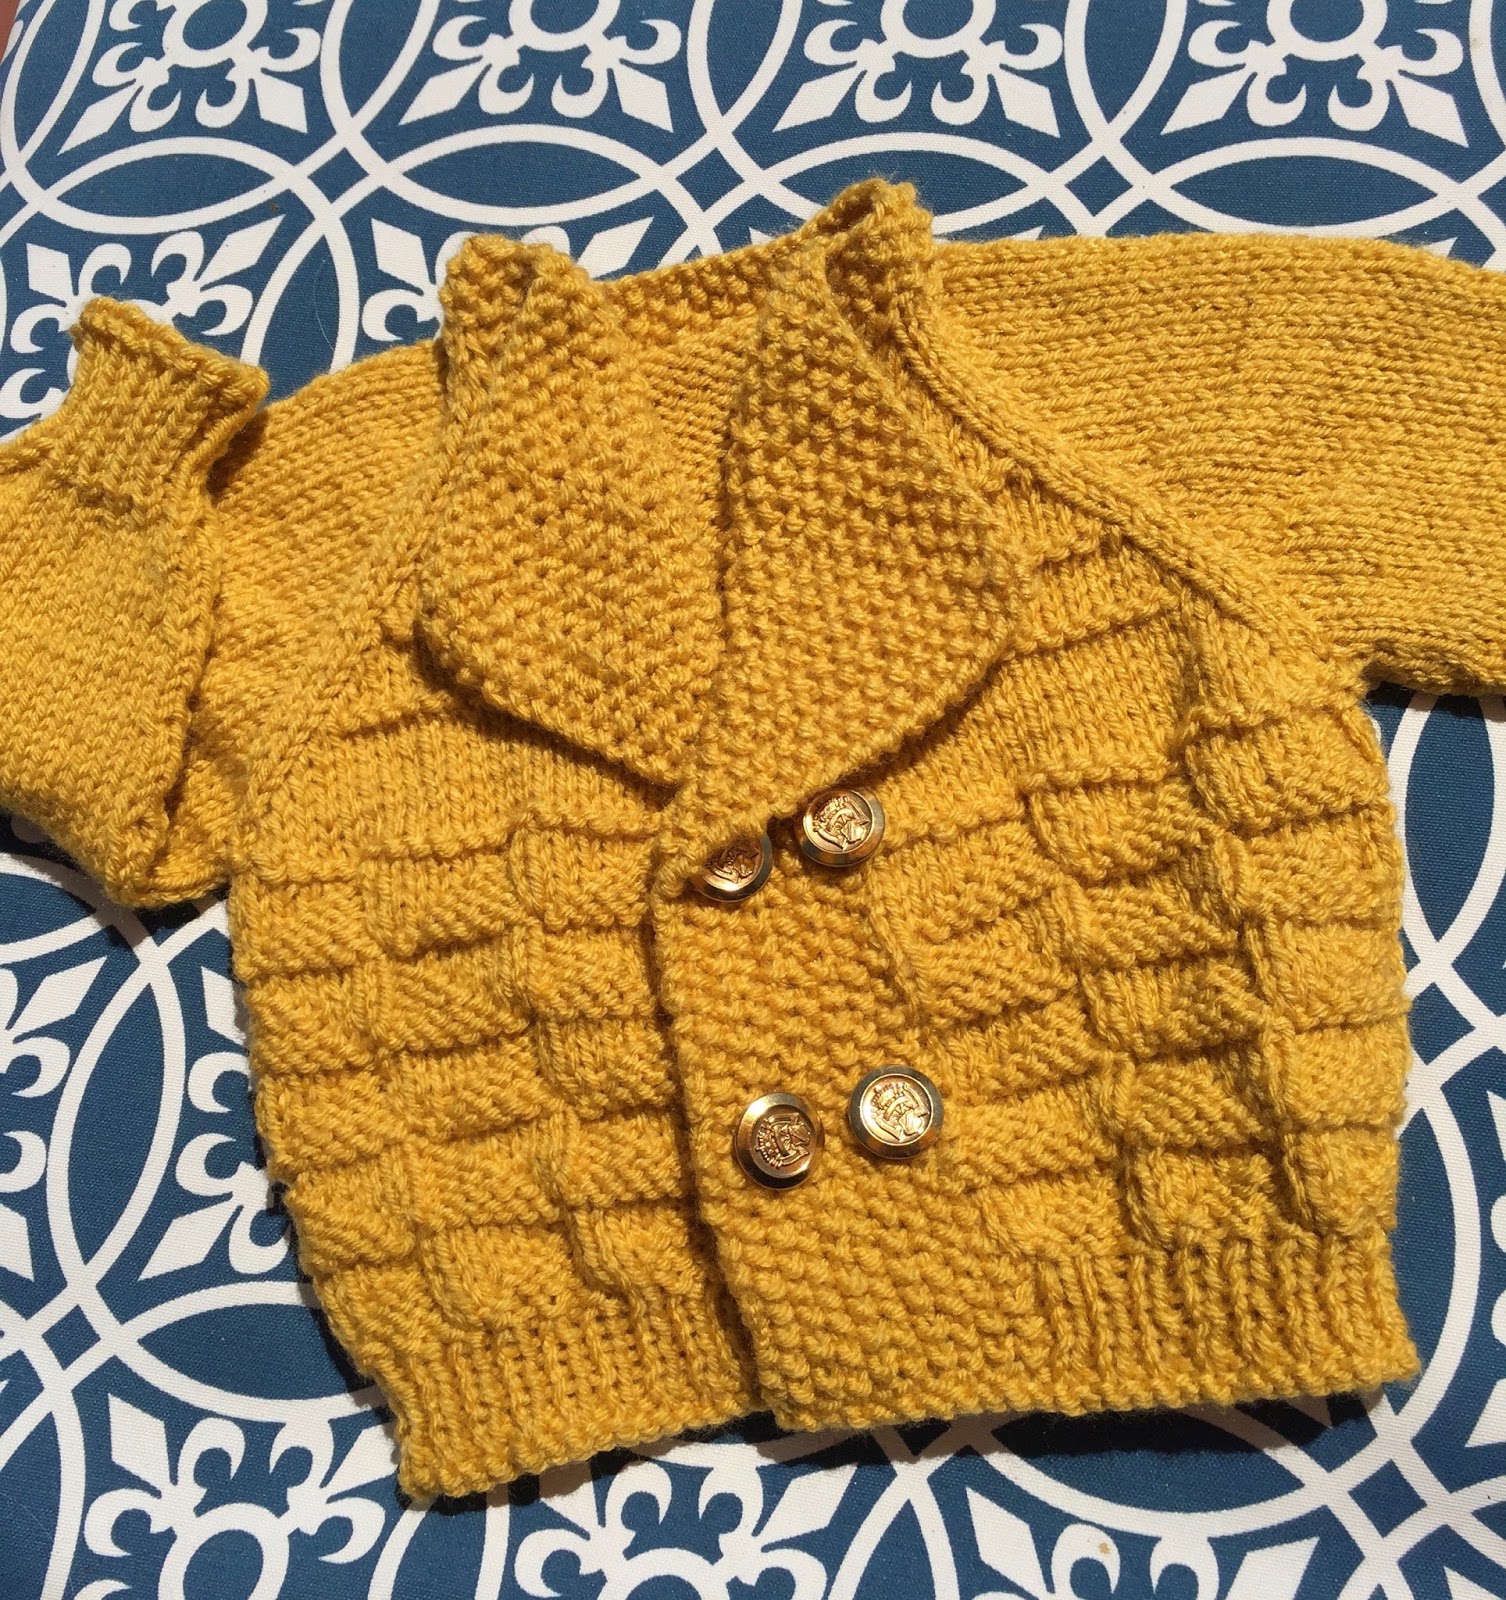
So Many Ideas - A Royal Jacket


I live in town where there are groups of knitters who enjoy getting together to knit.   How fortunate for me cause I love to knit.  I knit a lot, probably more then I should.  I also love to design kids garments, but I haven't been designing much recently. There are many ideas running around in my head and I finally completed a swing jacket pattern last week.  At our last meeting "show and tell" I shared the swing jacket and everyone loved it, except someone wished it had been designed for a little boy.  I did not want to disappoint, so I got to work on a boy's version.  


Same lapel collar, but a few changes:  full raglan increase,  added a stitch pattern to the body. double breasted and box shaping.


What do you think?  

This is the Royal Jacket for Kids
and I think it's lovely for boys or girls  


Monday, June 05, 2017

It truly is all about the finishing

Although most people love the knitting and don't care for the time and attention it takes to FINISH (as in block and weave), this final step can make all the difference in the world.  

Think of it as how a garment looks when pressed or not pressed.


Blocking the Date Night Wrap www.ExpressionFiberArts.com
After the piece was blocked my daughter asked if I could make the wrap longer.   She 5'8" , so yes of course.   I purchased 3 additional skeins of the Sublime Cashmere Silk Merino DK and added approximately 7 more rows.   Lovely pattern, delicious yarn

As a back-up, if the temperature really dropped-- GGH  Husky -wool
High Fructose Shawl  by Tunney Wool Company
 She wore both!!!!! yeah

Thursday, May 25, 2017

Where have I been..so well intentioned and then life gets in the way

I have been very busy knitting, that's where I have been.   Although I promise to come back to this blog every year or so..it just gets away from me.     Having retired in 2009 you would think that there are many hours to fill with blogging..but my knitting/crochet has taken priority.

Here's the last finished project.. my daughter's wedding crocheted wrap in Sublime Baby cashmere, merino Silk DK

Date Night Wrap
Design by  Expression Fiber Arts
www.ExpressionFiberArts.com

Tuesday, August 30, 2016

A little Mink

Have you ever knit with Mink?   It feels wonderful in your hands and the finished garment has a soft flowing drape.  Short version of Nebula by Vera Sanon.   I used Pure Elegance yarn from Great Yarns (shop)
A little Mink

Monday, March 14, 2016

Zippers in sweaters.

Installing zippers in Children's sweaters is not as hard as it may seem and the sweaters look fantastic.  

What you need:

1.  Separating zipper,  I like the bright heavy plastic ones.  Measure the front band of your cardigan and make sure the zipper you purchase to not longer then your measurement.   (13" band buy a 12" zipper).

2. Thread - best to have a color matching your sweater yarn.

3. Straight pins- the longer quilt pins are very good for this job.

4. Grosgrain ribbon, for the finishing on the inside of the zipper.  Double the length of your zipper plus 5 " for length of ribbon needed.   This can be a decorative ribbon, but make sure that it is not wider the 1".  I'll show you how to add this in a future post.


Step 1
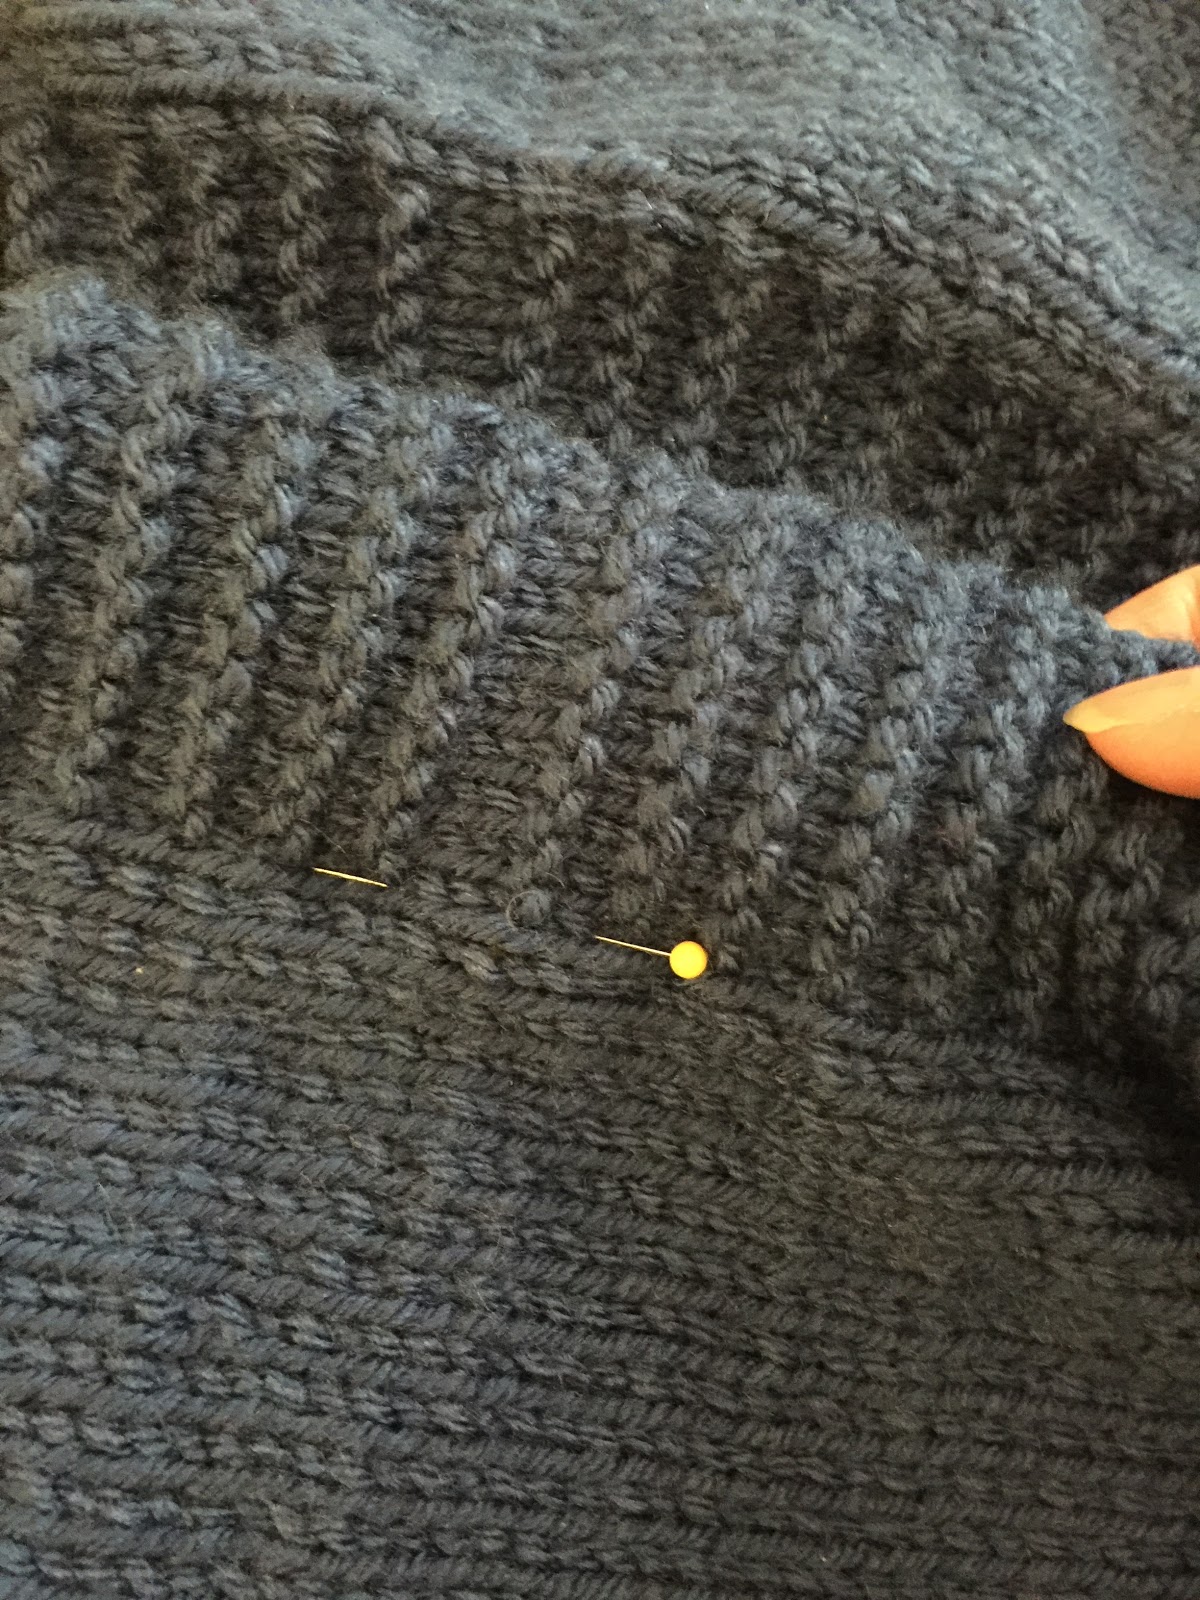
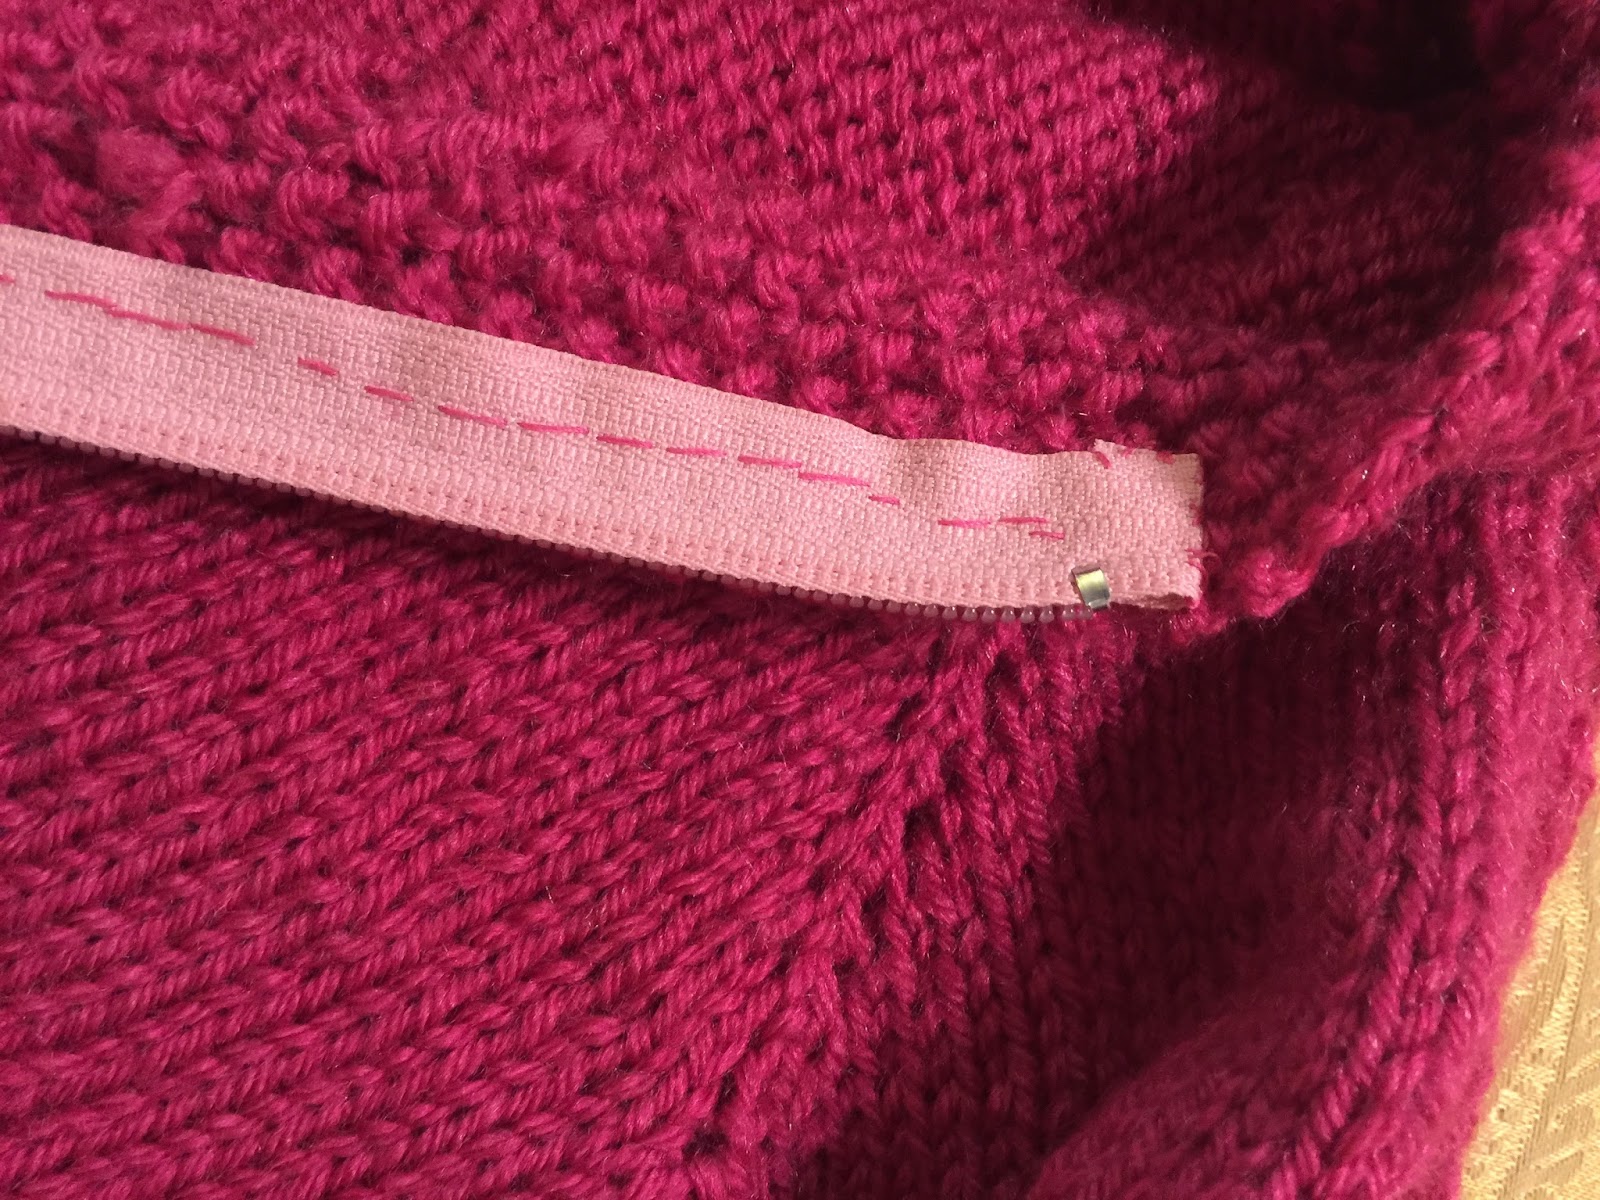
A. With a closed zipper, pin the zipper to the band.  The edge of the band should be a scant distance from the teeth of the zipper.  You do not want the zipper to catch.  
Test it by running the zipper up and down, it should do so easily.

B. You can now hand baste (a long running stitch) the zipper and band together so that the pins can be removed.


Step 2
A. Match the left and right band up so that the zipper will be centered up and down.  


notice the zipper teeth are showing and that's OK
You want the space for the zipper to pass through easily

.


In my blue sample I have decided to overlap the bands, so I will be pinning the second zipper inside further into where the band and sweater meet.  


Step 3
A. open the zipper.

B. fold the top and bottom of the zipper to the inside.

C.  hand stitch the zipper to each band. The hand stitches are made in the middle of the zipper band not close to the teeth.

The back stitch is a great secure stitch to use.
Backstitch guide link


D. notice the slip stitches around the folded end of zipper (above) and that when the seam is sewn, the edges of the band are not sewn close to the teeth of the zipper.   I pinned the edge over on this completely sewn band.   The zipper head must have room to move up and down.


Center seamed zipper


Finished sweater.
 That's a cross stitch ballet slipper... directions to follow. in a future post..

FINISHING-  Adding the grosgrain ribbon and finishing the sweater........ To Be Continued


Thursday, March 19, 2015

Another reason why I live here:  


 Sheep grazing in the vineyard.....