Grosgrain ribbon adds a finishing touch to sewing on a zipper in knitted items. It not only adds a nice look to the inside but it adds to the durability and security of the stitches in the garment.
That ribbon hides yarn ends and any hand stitches that may not be perfect.
What you need:
1. Grosgrain ribbon - measure twice the length of the band Plus 5 "
2. Matching thread to the ribbon... Perhaps your sweater is blue but you are using a white ribbon. You will need the ribbon color thread.
3. Needle, pins (long quilting pins are best) and scissors. Thimble if you use one is helpful, especially sewing through ribbon.
Step 1 Pinning-
A. Cut the ribbon in half.
B. Position the ribbon so that you have enough on either end (top and bottom) to fold over to the zipper top and bottom.


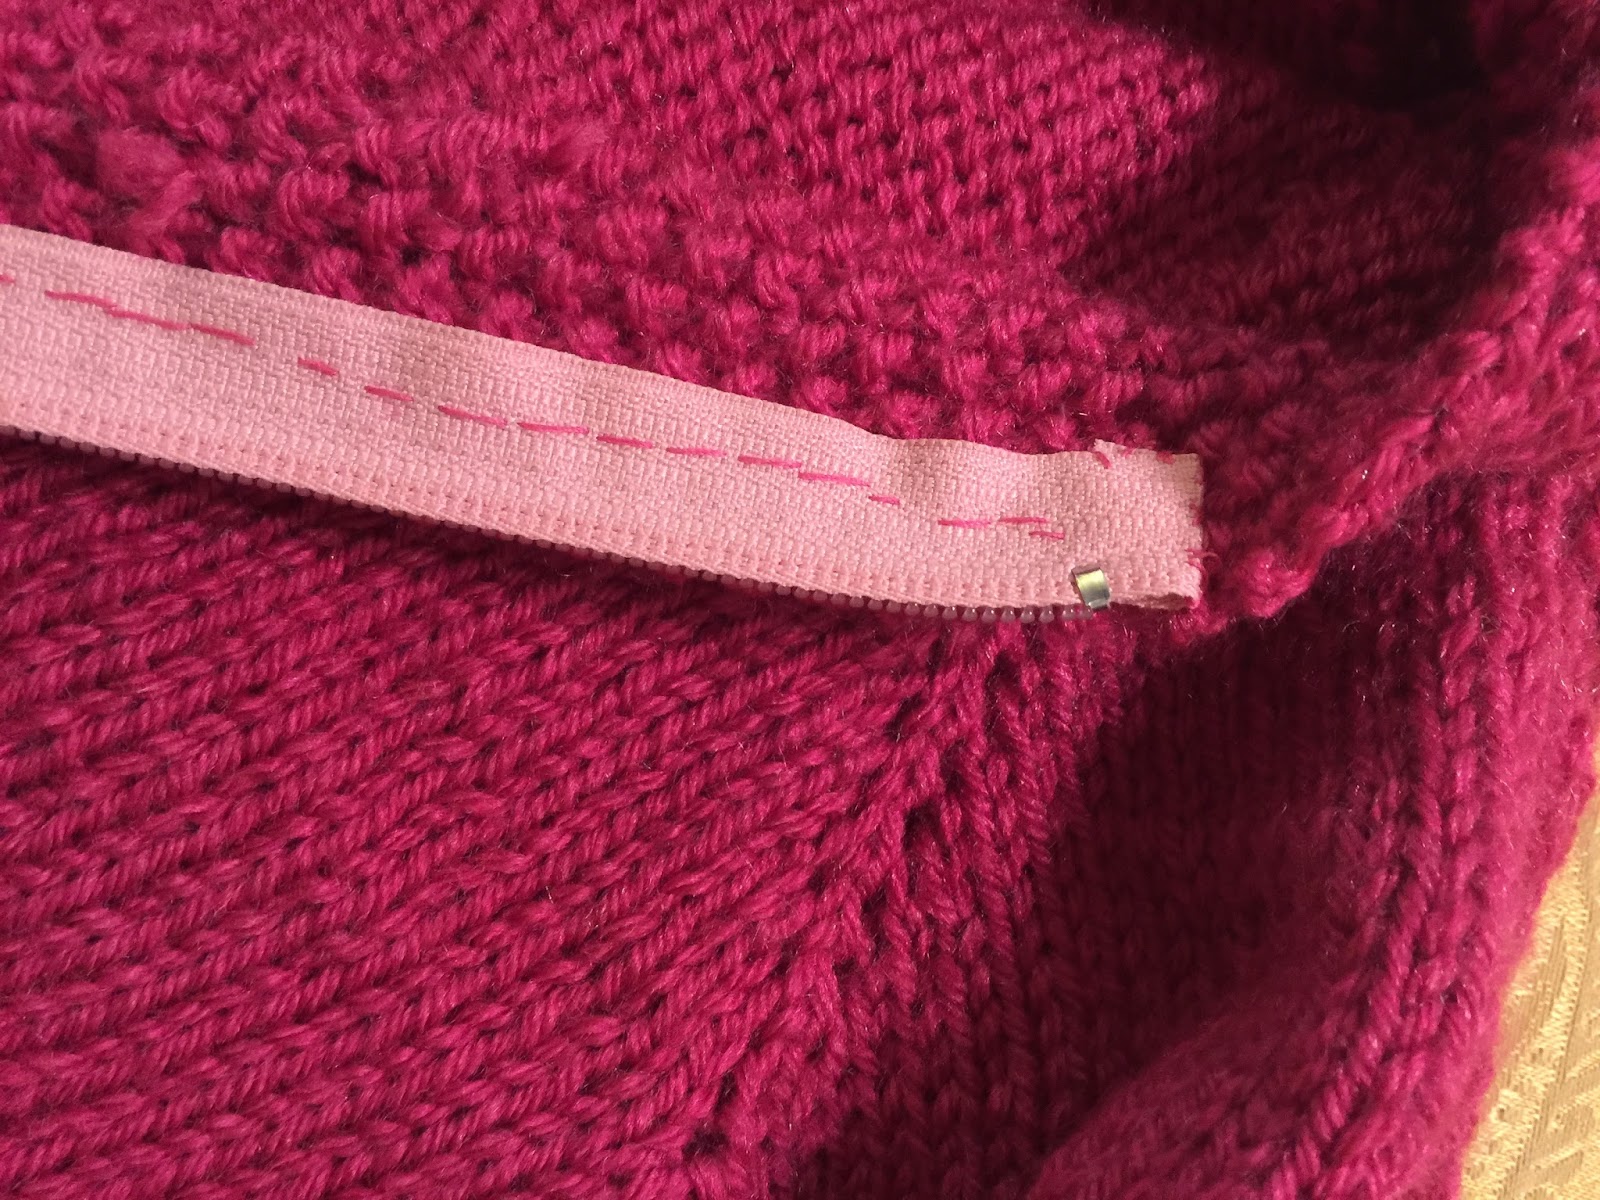
The ribbon should be positioned to cover the hand stitches on the zipper and can overlap the knitted surface.
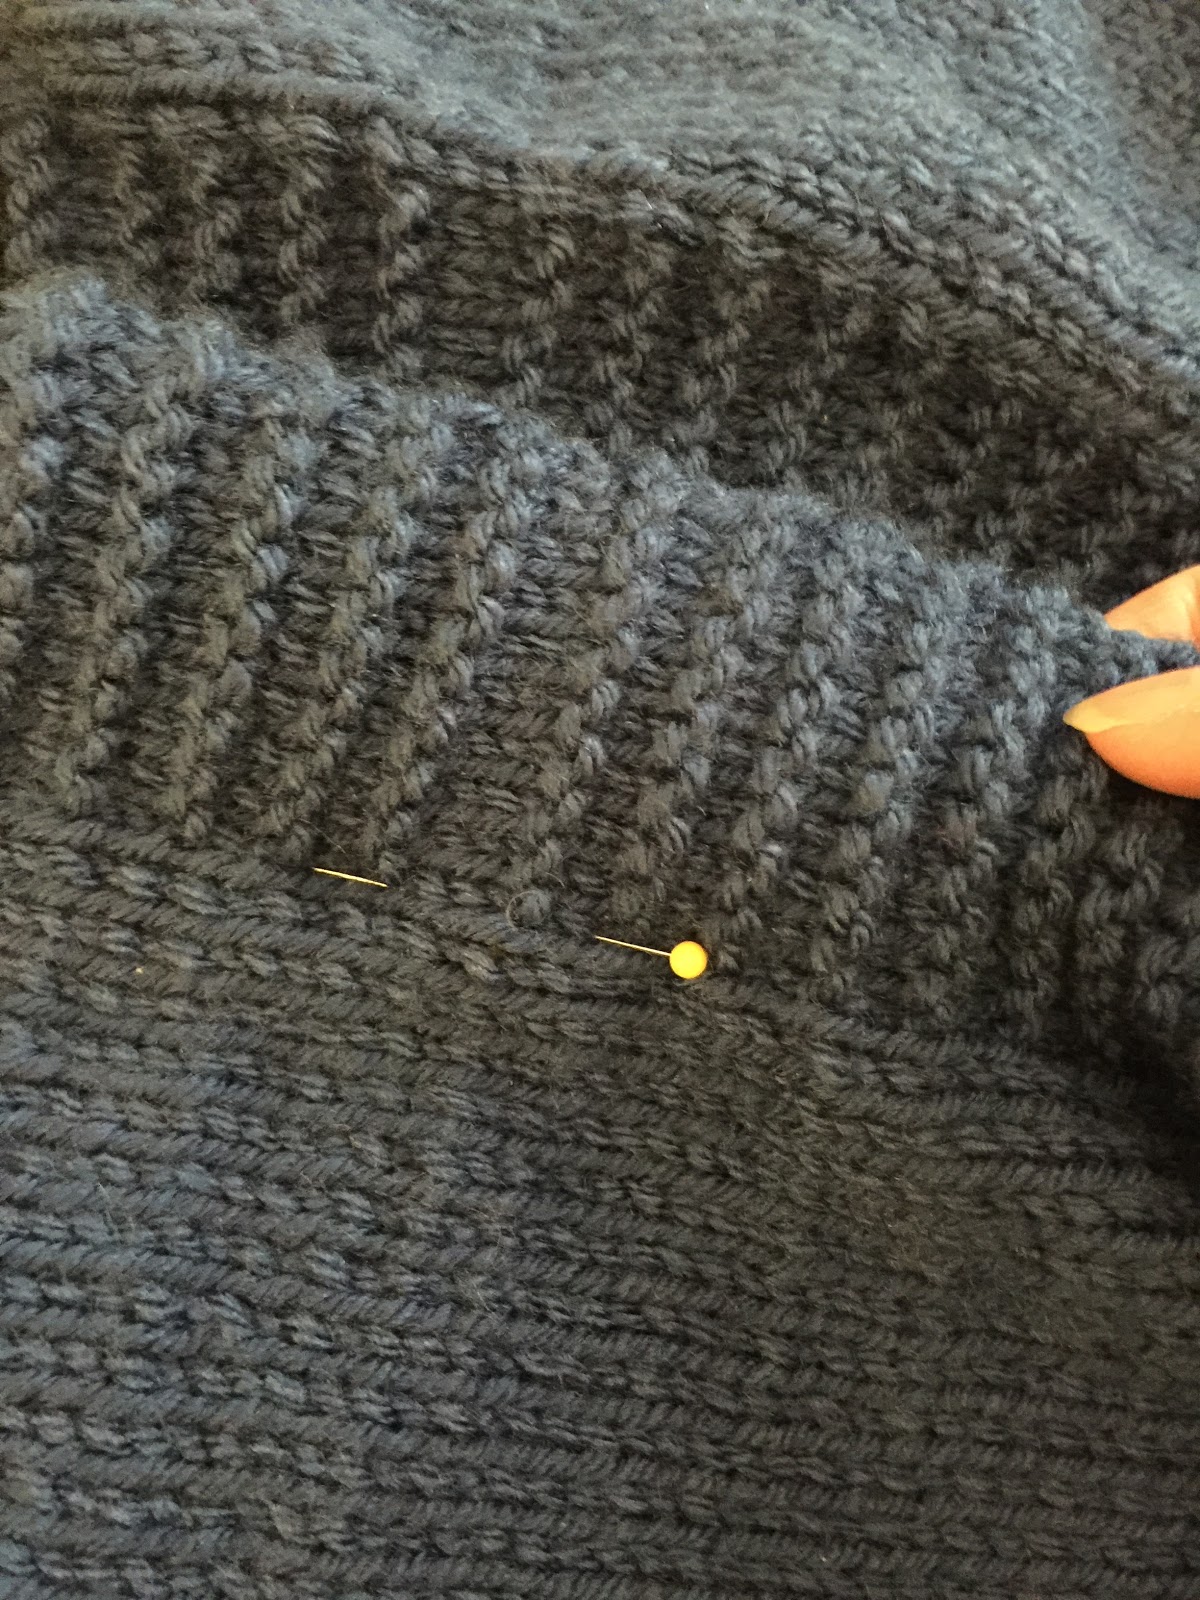
Pin the remaining ribbon down, covering the hand stitches.


Step 2 Sewing-
Using a whip small stitch, stitch the the ribbon to the zipper band and the sweater. Your stitches should not be visible on the ribbon.
That ribbon hides yarn ends and any hand stitches that may not be perfect.
What you need:
1. Grosgrain ribbon - measure twice the length of the band Plus 5 "
2. Matching thread to the ribbon... Perhaps your sweater is blue but you are using a white ribbon. You will need the ribbon color thread.
3. Needle, pins (long quilting pins are best) and scissors. Thimble if you use one is helpful, especially sewing through ribbon.
Step 1 Pinning-
A. Cut the ribbon in half.
B. Position the ribbon so that you have enough on either end (top and bottom) to fold over to the zipper top and bottom.


The ribbon should be positioned to cover the hand stitches on the zipper and can overlap the knitted surface.
Pin the remaining ribbon down, covering the hand stitches.


Step 2 Sewing-
Using a whip small stitch, stitch the the ribbon to the zipper band and the sweater. Your stitches should not be visible on the ribbon.