Tuesday, August 30, 2016
Thursday, August 11, 2016
Lake Louse 2015
At the end of my Vogue Knitting Cruise to Alaska, I met with friends and rode the Rocky Mountaineer to Banff. The ride was incredible, beautiful valleys, majestic mountains and a river ran through it all. Beyond a doubt the most inpactful location was Lake Louise..such a special feeling, the colors and icy water, sounds of running water and wind flowing through the trees. I definitely plan on returning to this lovely place.
Monday, August 08, 2016
Monday, August 01, 2016
I love to Sew (too!)
I teach sewing to kids (ages 9- up) during the summer @ Broadway Quilts in the town of Sonoma. It's wonderful to see the excitement and pride that the kids show when they are learning, doing and finishing their bags. It's especially rewarding when a student becomes so enchanted with their success and accomplishment. These a pincushions that I made for the goody bag each receives the last day of class.
Sunday, July 31, 2016
Adding the finishing touch to bands--Ribbon
Grosgrain ribbon adds a finishing touch to sewing on a zipper in knitted items. It not only adds a nice look to the inside but it adds to the durability and security of the stitches in the garment.
That ribbon hides yarn ends and any hand stitches that may not be perfect.
What you need:
1. Grosgrain ribbon - measure twice the length of the band Plus 5 "
2. Matching thread to the ribbon... Perhaps your sweater is blue but you are using a white ribbon. You will need the ribbon color thread.
3. Needle, pins (long quilting pins are best) and scissors. Thimble if you use one is helpful, especially sewing through ribbon.
Step 1 Pinning-
A. Cut the ribbon in half.
B. Position the ribbon so that you have enough on either end (top and bottom) to fold over to the zipper top and bottom.
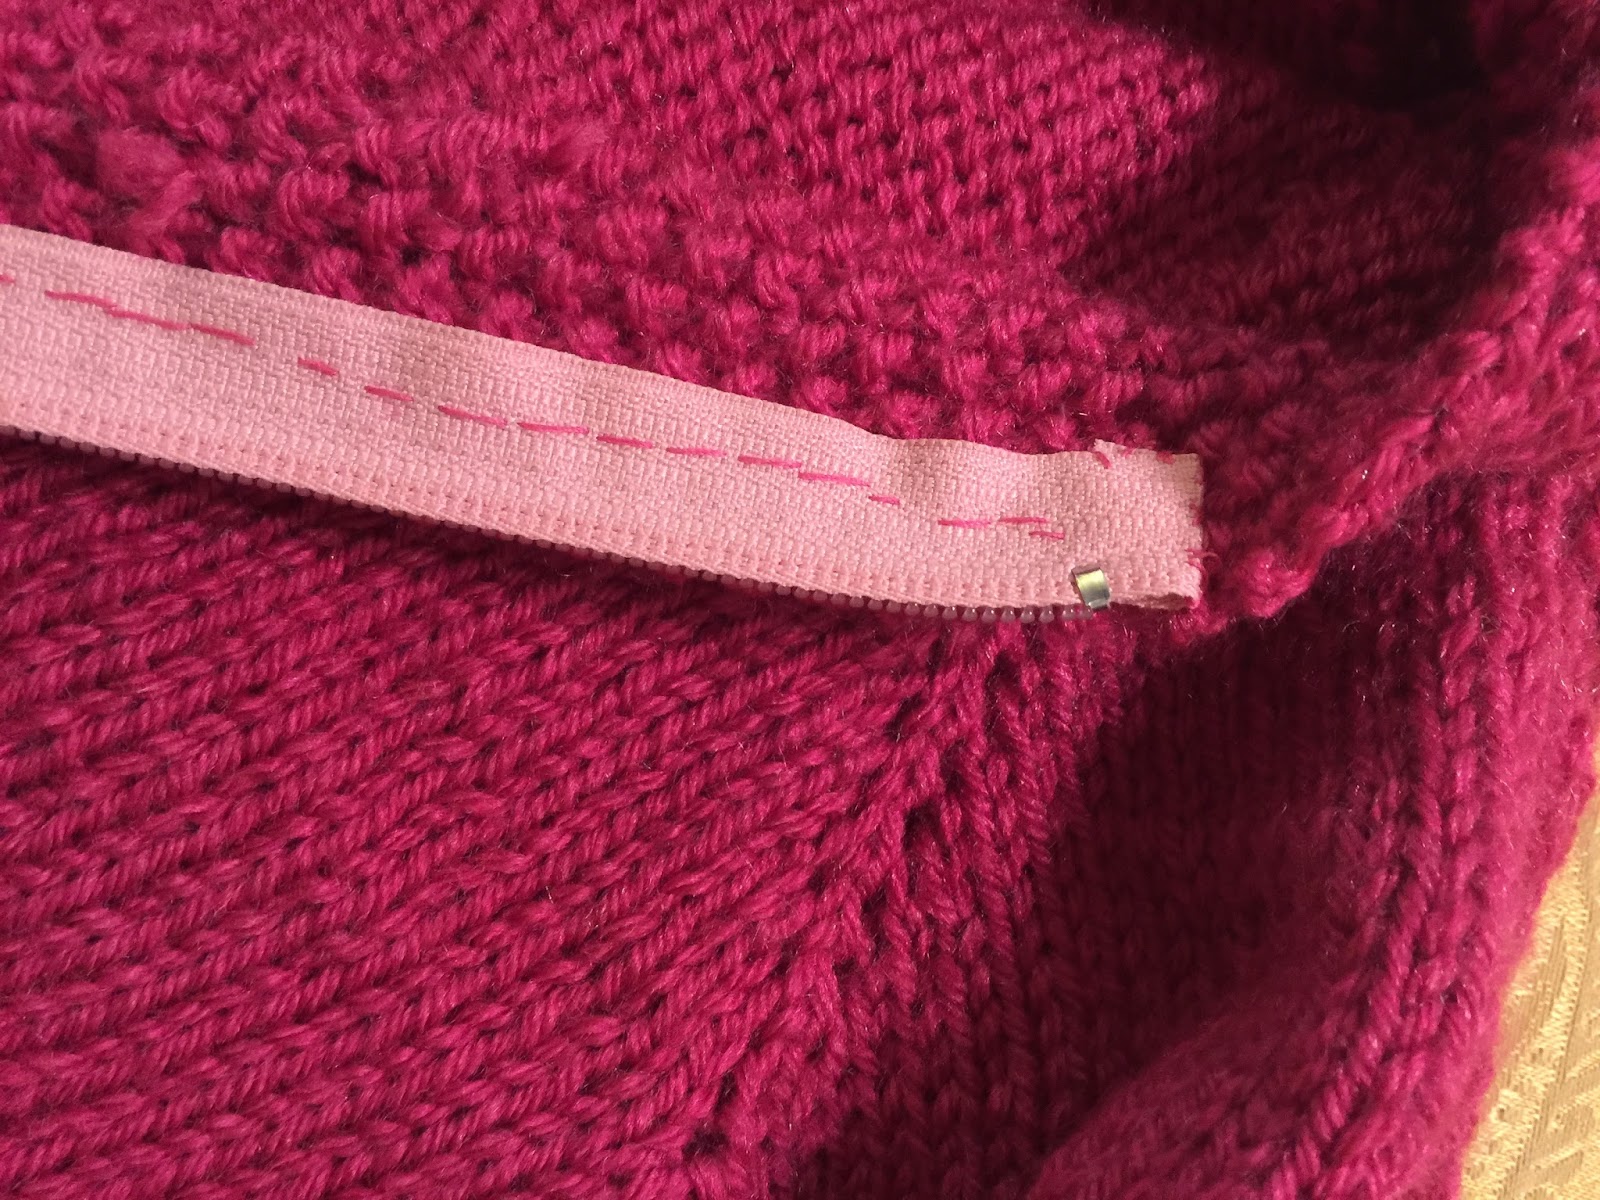
The ribbon should be positioned to cover the hand stitches on the zipper and can overlap the knitted surface.
Pin the remaining ribbon down, covering the hand stitches.
Step 2 Sewing-
Using a whip small stitch, stitch the the ribbon to the zipper band and the sweater. Your stitches should not be visible on the ribbon.
That ribbon hides yarn ends and any hand stitches that may not be perfect.
What you need:
1. Grosgrain ribbon - measure twice the length of the band Plus 5 "
2. Matching thread to the ribbon... Perhaps your sweater is blue but you are using a white ribbon. You will need the ribbon color thread.
3. Needle, pins (long quilting pins are best) and scissors. Thimble if you use one is helpful, especially sewing through ribbon.
Step 1 Pinning-
A. Cut the ribbon in half.
B. Position the ribbon so that you have enough on either end (top and bottom) to fold over to the zipper top and bottom.
The ribbon should be positioned to cover the hand stitches on the zipper and can overlap the knitted surface.
Pin the remaining ribbon down, covering the hand stitches.
Step 2 Sewing-
Using a whip small stitch, stitch the the ribbon to the zipper band and the sweater. Your stitches should not be visible on the ribbon.
Monday, March 14, 2016
Zippers in sweaters.
Installing zippers in Children's sweaters is not as hard as it may seem and the sweaters look fantastic.
What you need:
1. Separating zipper, I like the bright heavy plastic ones. Measure the front band of your cardigan and make sure the zipper you purchase to not longer then your measurement. (13" band buy a 12" zipper).
2. Thread - best to have a color matching your sweater yarn.
3. Straight pins- the longer quilt pins are very good for this job.
4. Grosgrain ribbon, for the finishing on the inside of the zipper. Double the length of your zipper plus 5 " for length of ribbon needed. This can be a decorative ribbon, but make sure that it is not wider the 1". I'll show you how to add this in a future post.
Step 1
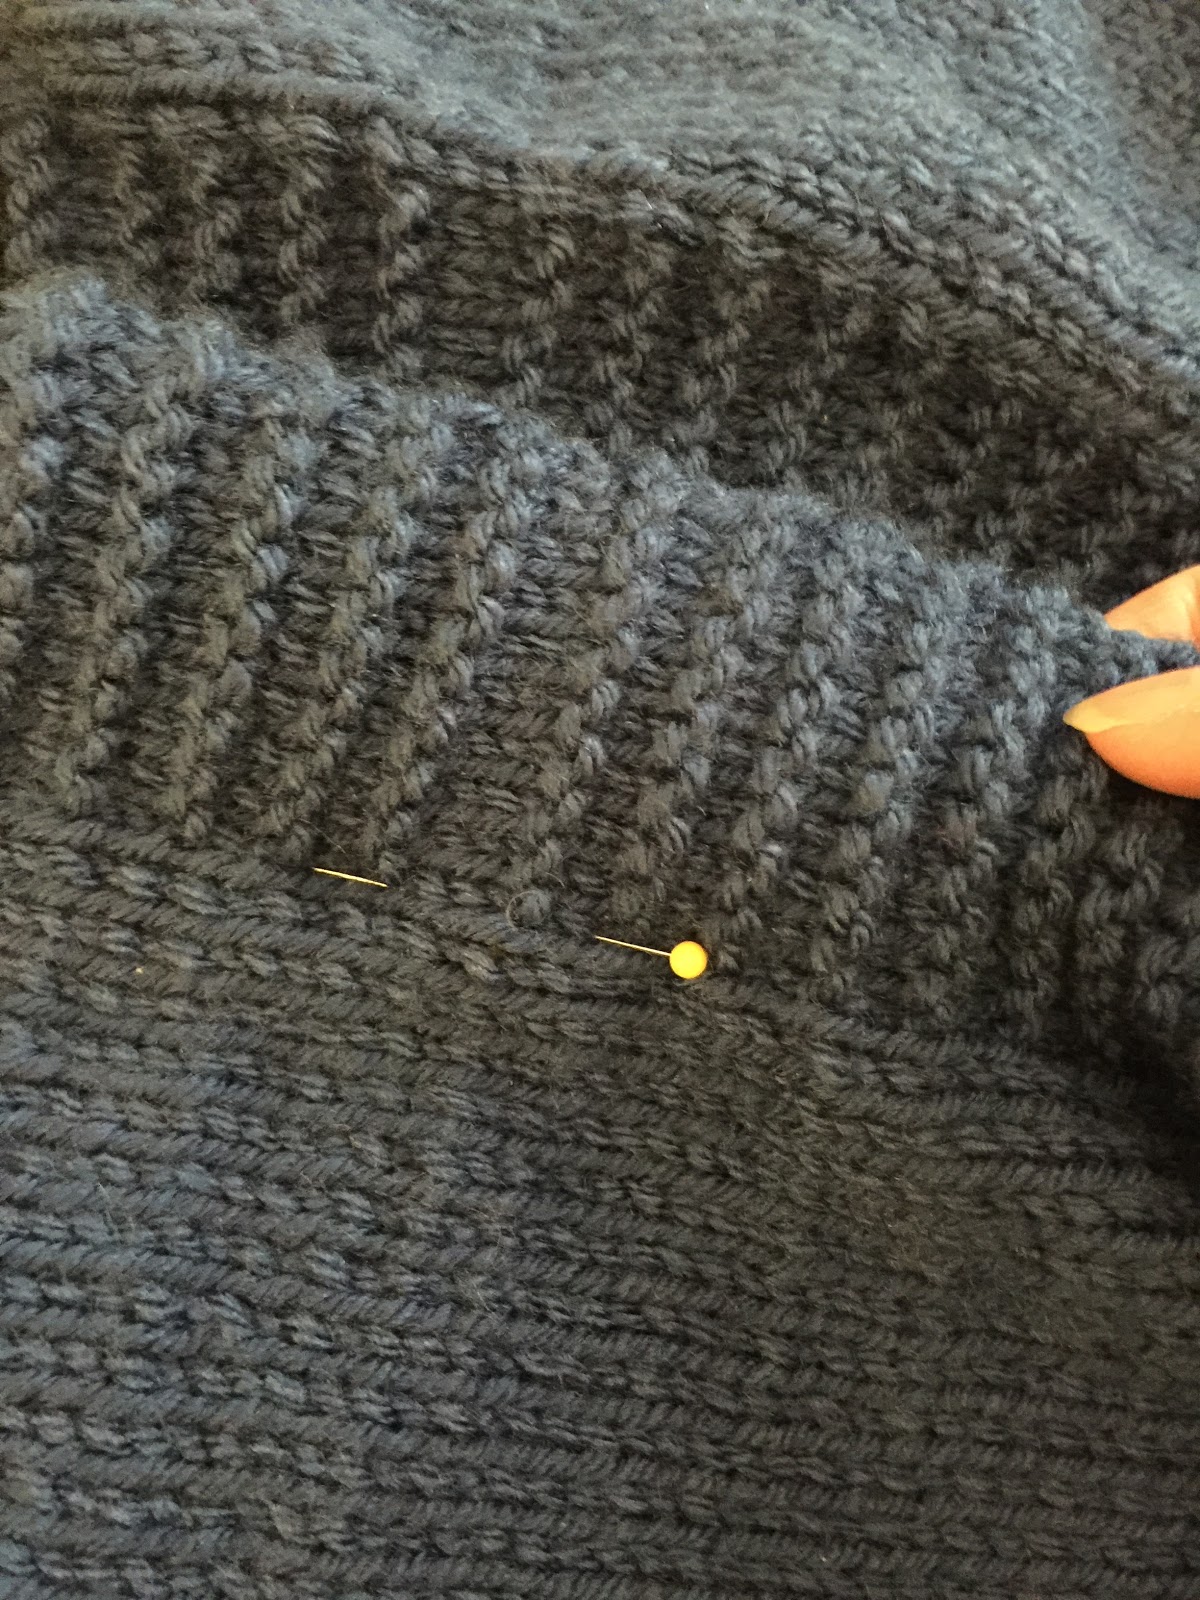
A. With a closed zipper, pin the zipper to the band. The edge of the band should be a scant distance from the teeth of the zipper. You do not want the zipper to catch.
Test it by running the zipper up and down, it should do so easily.
B. You can now hand baste (a long running stitch) the zipper and band together so that the pins can be removed.


Step 3
A. open the zipper.
B. fold the top and bottom of the zipper to the inside.
C. hand stitch the zipper to each band. The hand stitches are made in the middle of the zipper band not close to the teeth.
The back stitch is a great secure stitch to use.
Backstitch guide link
D. notice the slip stitches around the folded end of zipper (above) and that when the seam is sewn, the edges of the band are not sewn close to the teeth of the zipper. I pinned the edge over on this completely sewn band. The zipper head must have room to move up and down.
FINISHING- Adding the grosgrain ribbon and finishing the sweater........ To Be Continued
What you need:
1. Separating zipper, I like the bright heavy plastic ones. Measure the front band of your cardigan and make sure the zipper you purchase to not longer then your measurement. (13" band buy a 12" zipper).
2. Thread - best to have a color matching your sweater yarn.
3. Straight pins- the longer quilt pins are very good for this job.
4. Grosgrain ribbon, for the finishing on the inside of the zipper. Double the length of your zipper plus 5 " for length of ribbon needed. This can be a decorative ribbon, but make sure that it is not wider the 1". I'll show you how to add this in a future post.
Step 1
A. With a closed zipper, pin the zipper to the band. The edge of the band should be a scant distance from the teeth of the zipper. You do not want the zipper to catch.
Test it by running the zipper up and down, it should do so easily.
B. You can now hand baste (a long running stitch) the zipper and band together so that the pins can be removed.
Step 2
A. Match the left and right band up so that the zipper will be centered up and down.
![]() |
| notice the zipper teeth are showing and that's OK You want the space for the zipper to pass through easily |
.
In my blue sample I have decided to overlap the bands, so I will be pinning the second zipper inside further into where the band and sweater meet.

Step 3
A. open the zipper.
B. fold the top and bottom of the zipper to the inside.
C. hand stitch the zipper to each band. The hand stitches are made in the middle of the zipper band not close to the teeth.
The back stitch is a great secure stitch to use.
Backstitch guide link
D. notice the slip stitches around the folded end of zipper (above) and that when the seam is sewn, the edges of the band are not sewn close to the teeth of the zipper. I pinned the edge over on this completely sewn band. The zipper head must have room to move up and down.
![]() |
| Center seamed zipper |
![]() |
| Finished sweater. That's a cross stitch ballet slipper... directions to follow. in a future post.. |
FINISHING- Adding the grosgrain ribbon and finishing the sweater........ To Be Continued
Wednesday, March 09, 2016
Zippers and sweaters
i have been knitting for over 50 years (wow!!!) and in all those years never used a zipper in my knitting work...Was it fear ..I don't know? I certainly have experience sewing with zippers, invisible, separating, into clothing, upolstery, and bags...but never into a knit.
So two weeks ago I decided that my latest cardigan needed a zipper. And guess what, it wasn't that difficult. Tutorial to follow:
Monday, February 29, 2016
Tuesday, February 23, 2016
Sharing Love
Over the past year I've been very fortunate to be able to share my love of knitting and crochet with others. After my surgery I decided that I wanted to give back and spend time creating blankets for children in the hospital. This has been therapeutic for me..and helped me get back to knitting. It took 3 months before I picked up needles. So strange and confusing for me, that with all the time I had available..the best I could do to focus was to thumb through magazines...look at pictures. Once I finally had the energy and concentration to start a project this is what I did:
Sunday, February 14, 2016
More Love
You may have heard of the fires in Northern California last summer (2015). It was devastating for the entire community affected by this storm of fire. Some parts of a neighborhood would be burned away on one side of the street, and the homes on the other side of the street were perfectly fine. It was amazing. I can not imagine what it would be like if someone knocked at my door and said you have a minute to get out. The community around Cobb and Middletown rallied together to help those homeless, to help the animals and the children. it's devastating to lose everything. One of the efforts that was made was to make quilts for the children. The goal was to collect 400 quilts to give to pre-K through second grade. Well the community came together and quilts came in from all over the country. 860 quilts were donated . The quilts were brought to the local schools before Christmas, and the children had the opportunity to pick out that they wanted .
Sharing the love.
Sharing the love.
Subscribe to:
Posts (Atom)